
Is Sableye Good in Sun & Moon Playthrough?
Wild in Alola's cave areas. Sableye's Dark/Ghost typing used to have zero weaknesses, but Fairy changed that. Still handles Acerola's trial and the Psychic E4 matchups. No Mega Stone during the story.
Sableye has the type edge here and should clean up Ilima's team.
Sableye has the type edge here and should clean up Hala's team.
Sableye has the type edge here and should clean up Lana's team.
Sableye resists most of Kiawe's coverage and hits back hard.
Sableye trades roughly evenly with Mallow's team.
Sableye has the type edge here and should clean up Olivia's team.
Sableye has the type edge here and should clean up Sophocles's team.
Sableye has the type edge here and should clean up Acerola's team.
Sableye trades roughly evenly with Nanu's team.
Sableye has the type edge here and should clean up Totem Kommo-o's team.
Sableye trades roughly evenly with Hapu's team.
Sableye trades roughly evenly with Hala's team.
Sableye trades roughly evenly with Olivia's team.
Sableye has the type edge here and should clean up Acerola's team.
Sableye has the type edge here and should clean up Kahili's team.
Catch Sableye on Ten Carat Hill (walking, Lv 10-13). Alternate S.O.S. encounters; UNCOMMON; Called by Carbink.
Sun & Moon Sableye Locations
moderate rates for Sableye across 6 locations in early-game routes. Nothing complicated. Check the sorted list below, compare the top few options, and head to whichever is closest.
Best Locations to Catch Sableye in Sun & Moon
3 walking spots from Lv. 10-44 for Sableye. Sorted by game progression with rates on each row, so you can compare without scrolling through everything.
Sableye Weakness
Type-wise, Sableye takes extra damage from Fairy. Normal, Fighting, and Psychic moves do nothing thanks to a full immunity. Sableye's overall bulk (50/125/115) lets it take a hit or two from most weaknesses before going down.
| Damage | Types |
|---|---|
| 2x (Weak) | Fairy |
| 0.5x (Resist) | Poison |
| 0x (Immune) | Normal, Fighting, Psychic |
What is Sableye Weak Against
FortressBest Pokemon Against Sableye
Jigglypuff NormalFairy | C | |
Available Move Moves
Damage vs Sableye View Jigglypuff builds →Disarming Voice 2x27-32% | ||
Azumarill WaterFairy | C | |
Cutiefly BugFairy | C | |
Carbink RockFairy | C | |
Morelull GrassFairy | C | |
Azumarill WaterFairy | C | |
Jigglypuff NormalFairy | C | |
Available Move Moves
Damage vs Sableye View Jigglypuff builds →Disarming Voice 2x25-30% | ||
Cutiefly BugFairy | C | |
Carbink RockFairy | C | |
Morelull GrassFairy | C | |
Azumarill WaterFairy | C | |
Comfey Fairy | C | |
Jigglypuff NormalFairy | C | |
Available Move Moves
Damage vs Sableye View Jigglypuff builds →Disarming Voice 2x23-28% | ||
Cutiefly BugFairy | C | |
Carbink RockFairy | C | |
Azumarill WaterFairy | C | |
Comfey Fairy | C | |
Shiinotic GrassFairy | C | |
Jigglypuff NormalFairy | C | |
Available Move Moves
Damage vs Sableye View Jigglypuff builds →Disarming Voice 2x21-25% | ||
Carbink RockFairy | C | |
Ribombee BugFairy | B | |
Available Move Moves
Damage vs Sableye View Ribombee builds →Dazzling Gleam 2x64-77% | ||
Azumarill WaterFairy | C | |
Klefki SteelFairy | C | |
Comfey Fairy | C | |
Clefairy Fairy | D | |
Available Move Moves
Damage vs Sableye View Clefairy builds →Disarming Voice 2x24-30% | ||
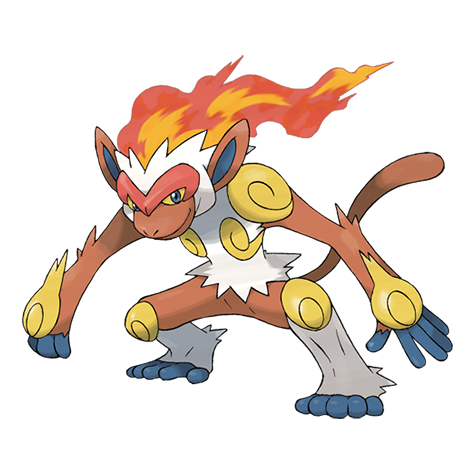
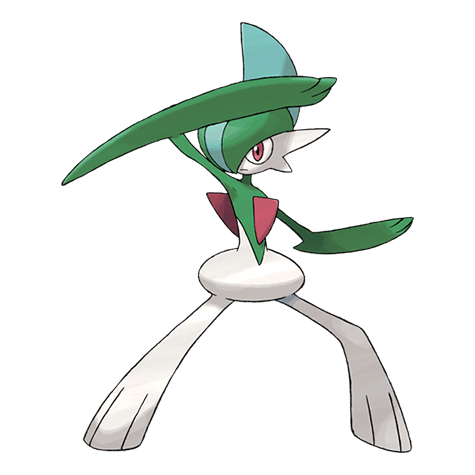
Primarina WaterFairy | B | |
Available Move Moves
Damage vs Sableye View Primarina builds →Disarming Voice 2x40-48% | ||
Ribombee BugFairy | B | |
Available Move Moves
Damage vs Sableye View Ribombee builds →Dazzling Gleam 2x63-75% | ||
Azumarill WaterFairy | C | |
Klefki SteelFairy | C | |
Morelull GrassFairy | C | |
C | ||
Recommended Build AbilityLevitate ItemEviolite NatureBold Moves View Bronzor builds →
| ||
C | ||
Recommended Build AbilityDefiant ItemFightiniumz NatureJolly Moves
Damage vs Sableye View Primeape builds →U Turn18-21% Stone Edge26-30% | ||
C | ||
Recommended Build AbilityIronfist ItemAssault Vest NatureAdamant Moves View Hitmonchan builds →
| ||
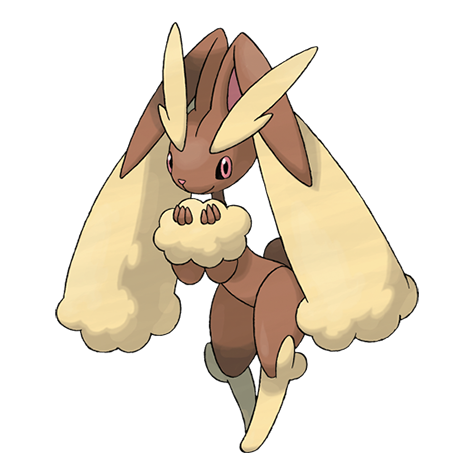
C | ||
Recommended Build AbilityKlutz ItemAssault Vest NatureTimid Moves View Lopunny builds →
| ||
C | ||
Recommended Build AbilityPrankster ItemBindingband NatureImpish Moves View Volbeat builds →
| ||
Sableye Evolutions
Sableye is what you get. No evolutions, but it breeds through one egg group with plenty of partners. Hatching is average hatch time. It's got 11 egg moves worth looking into. View every chain in the Evolution Chart.
How to Evolve

Breeding
Breed Sableye easily with 56 breeding partners from the Humanshape egg group. Pass egg moves like Captivate, Feint, Flatter and 8 more to offspring.


SM Sableye Best Moveset
Mega Sableye's AbilityMagic Bounce reflects hazards and status moves, and Dark/Ghost typing has no weaknesses before the Fairy super-effective hit. Base form AbilityPrankster gives priority to status moves. Z-Moves fire a one-time nuke on either set. The moveset has the Mega's hazard reflection but the Fairy weakness introduced in Gen 6 limits what it blocks.
Best Build
Sableye best EVs are HP and Attack
Physical Tank Moveset
- Will O Wisp
- Recover
- Taunt
- Knock Off
Recommended Teammates
Moves List
Stall teams hate this. Sableye can spread damage across 11 types, with Normal and Psychic punishing common defensive pivots. STAB from Foul Play and Shadow Ball keeps the pressure honest on everything else.
How to Read the Moves Table
Tabs
- Level-Up
- Learned by leveling up.
- TM
- Taught by a Technical Machine.
- Egg
- Inherited via breeding.
- Tutor
- NPC tutor (cost: items, BP, money).
- Reminder
- An NPC reteaches any move this Pokemon could have learned by leveling up.
- Transfer
- Carried over from an older game using Pokemon HOME.
- Event
- Given out through Mystery Gift events.
Visual Signals
CAT (Category)
How the move deals damage and which stats it uses.
A small dot on the icon's corner marks the move as contact. That triggers abilities like Static, Flame Body, Rough Skin, or Iron Barbs, plus items like Rocky Helmet and Sticky Barb.
Tier (S to D)
Each move's competitive rank in RankedBoost's system. TM, Egg, and Tutor sort by tier by default (best first). On Level-Up, click the Tier header to do the same.
PWR (Power)
Base damage. Numbers shown in a type color include STAB (base × 1.5). Hover any colored number to see the math.
— means no power (status moves) or variable power.
Sorting & Filter
Click any column header to sort. Level-Up opens with Lv 1 at the top. TM, Egg, and Tutor open with the highest-tier moves at the top.
Search filters by move name or type. The Filter button limits the list to STAB, Physical, Special, or Status moves.
Level-Up Moves
TM Moves
Egg Moves
Tutor Moves
Transfer Moves
Base Stats
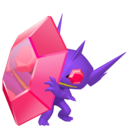
The jewel from its chest, which has grown gigantic due to the effects of Mega Evolution, can turn back any attack.
Supporting a giant heavy jewel, it can't change direction very nimbly and is vulnerable to attack from behind.
Sableye Sun & Moon Guide
In Sun & Moon, Sableye looks average on paper at 480 BST. But Magic Bounce is why it sees play. Build around that and it pulls its weight. C-Tier support on our tier list. Will O Wisp with Leftovers is the standard set.
In Sun & Moon, yes. Mega Sableye is the evolved form, sitting at 580 BST. Big power spike over base Sableye (480). Equip the Mega Stone and it transforms in battle.
In Sun & Moon, Sableye's biggest threats include Clefable (Fairy), all carrying super-effective STAB moves. Only 1 weakness means fewer dedicated counters to worry about. At base 20 Speed, Sableye won't outrun any of these threats so switching to a resist is usually the safer play.
Sableye gets Magic Bounce. But Magic Bounce is the one that matters. It's the centerpiece of every viable set. Build around that.
Sableye is a physical attacker with base 85 Attack. Tanky enough to absorb a few hits, too. Speed tells the real story. Base 20 Speed is low. Priority moves or Trick Room are the way to go. Fits the support role.
Game Availability
Available since Ruby & Sapphire, Sableye appears in 16 games spanning 8 generations. Beyond its original form, it gained a Mega form in Generation 6.
Click a game to view version-specific details
- Gen 1RB

 Red & Blue
 - Gen 1Y
 Yellow
 - Gen 2GS

 Gold & Silver
 - Gen 2C
 Crystal
 - Gen 3RSDebut

 Ruby & Sapphire
 - Gen 3E
 Emerald
 - Gen 3FRLG

 FireRed & LeafGreen
 - Gen 4DP

 Diamond & Pearl
 - Gen 4Pt
 Platinum
 - Gen 4HGSS

 HeartGold & SoulSilver
 - Gen 5BW

 Black & White
 - Gen 5B2W2

 Black 2 & White 2
 - Gen 6XY

 X & Y
X & Y - Gen 6ORASMega

 Omega Ruby & Alpha Sapphire
 - Gen 7SM

 Sun & Moon
 - Gen 7USUM

 Ultra Sun & Ultra Moon
 - Gen 7LGPE

 Let's Go Pikachu & Eevee
 - Gen 8SwSh

 Sword & Shield
 - Gen 8BDSP

 Brilliant Diamond & Shining Pearl
 - Gen 8PLA
 Legends: Arceus
 - Gen 9SV

 Scarlet & Violet
 - Gen 9LZA
 Legends: Z-A
 - Gen 10WW

 Winds & Waves