
Zelda Tears of the Kingdom Lanayru Location
The Zelda Tears of the Kingdom Lanayru location guide, here you can use a interactive map to find up to 15 shrines, 2 mini bosses, and 3 Armor gear pieces. You can also find all of treasures chests, shops, stables and more in Lanayru area.
Lanayru Map Guide
| Location | Type | Subtype | Description | Show on map |
|---|
List Skyview Towers in Lanayru
| Skyview Tower | How To Unlock |
|---|---|
|
The Lanayru door is covered with a big pile of gunk. Get a Hydrant from your Zonai tools and place it close to the gunk. Turn on the Hydrant by hitting it and it will clean the gunk away. Now, you can go into the tower. | |
|
Getting to the Lanayru is simple enough, you'll have to do a lot of climbing. Once you get to the tower, just turn on the control panel to get a map of the area around you. |
List Shrines in Lanayru
| # | Shrine | Rewards |
|---|---|---|
| 041 | ||
| 101 | ||
| 011 | ||
| 049 | ||
| 119 | ||
| 094 | ||
| 027 | ||
| 057 | ||
| 113 | ||
| 112 | ||
| 081 | ||
| 138 | ||
| 097 | ||
| 006 | ||
| 022 |
Armor Found in the Lanayru
| Armor | Defense | Special Effects | How To Get | |
|---|---|---|---|---|
C Tier
|
Headgear
|
Base:
3 ★:
5 ★★:
8 ★★★:
12 ★★★★:
20 |
|
Ploymus Mountain
|
C Tier
|
Legwear
|
Base:
3 ★:
5 ★★:
8 ★★★:
12 ★★★★:
20 |
|
Upland Zorana
|
A Tier
|
Headgear
|
Base:
2 ★:
4 ★★:
6 ★★★:
9 ★★★★:
16 |
|


Equipment found in the Lanayru
| Weapons | Stats | |
|---|---|---|
C Tier
|
Spear
|
Effect: Water Damage Up (weapon deals 2x more damage when wet)
Attack:
8
Guard Break:
8
Durability:
40
|
S Tier
|
Spear
|
Effect: Water Damage Up (weapon deals 2x more damage when wet)
Attack:
16
Guard Break:
18
Durability:
70
|
A Tier
|
Sword
|
Effect: Water Damage Up (weapon deals 2x more damage when wet)
Attack:
18
Guard Break:
8
Durability:
30
|
C Tier
|
Sword
|
Effect: Water Damage Up (weapon deals 2x more damage when wet)
Attack:
12
Guard Break:
10
Durability:
27
|
A Tier
|
Bow
|
Attack:
20
Range:
20
Durability:
40
|
A Tier
|
Bow
|
Attack:
20x3
Range:
20
Durability:
35
|
D Tier
|
Shield
|
Defense:
15
Durability:
8
|
C Tier
|
Shield
|
Defense:
24
Durability:
20
|
A Tier
|
Boomerang
|
Attack:
8
Guard Break:
16
Durability:
17
|
E Tier
|
Club
|
Attack:
14
Guard Break:
4
Durability:
14
|
B Tier
|
Shield
|
Defense:
35
Durability:
15
|
C Tier
|
Bow
|
Attack:
14
Range:
20
Durability:
25
|


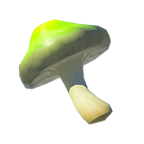
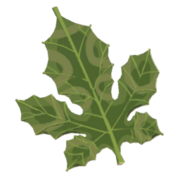
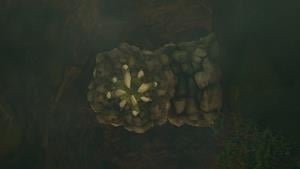
Materials found in the Lanayru
| Material | Effects |
|---|---|
|
Elixir: Extra Stamina
| |
|
| |
|
Time Boost: 0:40
| |
|
Time Boost: 0:40
| |
|
Time Boost: 0:40
| |
|
Time Boost: 0:40
| |
|
| |
|
Cooking:
| |
|
Cooking:
| |
|
| |
|
Cooking:
| |
|
Time Boost: 0:40
| |
|
Fire Resistance
Time Boost: 1:20
| |
|
Time Boost: 1:20
| |


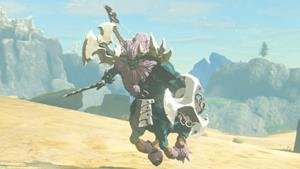
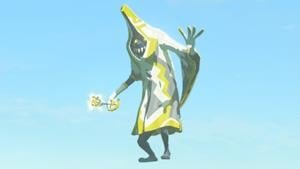
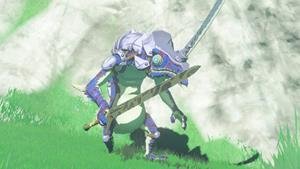
Bosses in the Lanayru Location
| Bosses | Stats | Drops |
|---|---|---|
|
Life: 3000
|
 | |
|
Life: 620
|
|
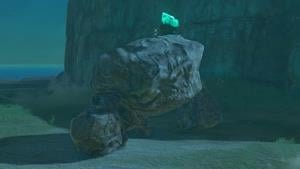
Enemies in the Lanayru Location
| Enemies | Stats | Drops |
|---|---|---|
|
Life: 400
|
| |
|
Life: 150
|
| |
|
Life: 50
|
| |
|
Life: 2
|
| |
|
Life: 300
|
| |
|
Life: 8
|
| |
|
Life: 120
|
| |
|
Life: 1
|
| |
|
Life: 250
|
| |
|
Life: 250
|
|


All Locations in Zelda Tears of the Kingdom.
Popular Guides