
Zelda Tears of the Kingdom Gerudo Highlands Location
The Zelda Tears of the Kingdom Gerudo Highlands location guide, here you can use a interactive map to find up to 7 shrines, 3 mini bosses, and 2 Armor gear pieces. You can also find all of treasures chests, shops, stables and more in Gerudo Highlands area.
Gerudo Highlands Map Guide
| Location | Type | Subtype | Description | Show on map |
|---|
List Skyview Towers in Gerudo Highlands
| Skyview Tower | How To Unlock |
|---|---|
|
The control panel on the Gerudo Highlands isn't working. Look for the building materials nearby and use Ultrahand to stick all the metal boxes together. When all the boxes are joined together, stick them to the pulley nearby. This will bring Sawson up. Talk to him and he'll fix the control panel. | |
|
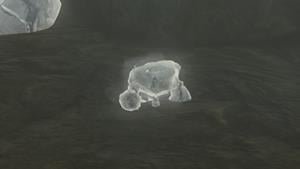
The Gerudo Highlands entrance is covered in snow, so you'll need to find a different way to get inside. You'll need to find Meadela's Mantle Cave which is nearby straight towards the big wall of rock from where the tower is. Go inside the cave. When you're in, you can build a raft with Ultrahand using the stuff you find nearby. Then, float down the stream. Watch out! You'll run into a Bubbulfrog as you float down. When you get to the end of the stream, you'll see wooden beams and supports above you. Use Ascend on the wooden roof and you'll pop out right at the tower's door. Turn it on and you'll get a map of the Gerudo Highlands area. |
List Shrines in Gerudo Highlands
| # | Shrine | Rewards |
|---|---|---|
| 058 | ||
| 009 | ||
| 075 | ||
| 079 | ||
| 008 | Large Zonaite | |
| 078 | ||
| 039 |
Armor Found in the Gerudo Highlands
| Armor | Defense | Special Effects | How To Get | |
|---|---|---|---|---|
S Tier
|
Headgear
|
Base:
3 ★:
★★:
★★★:
★★★★:
|
Lightning Proof
|
Yiga Clan Hideout
|
E Tier
|
Headgear
|
Base:
1 ★:
3 ★★:
5 ★★★:
7 ★★★★:
12 |
Yiga Clan Hideout
|


Equipment found in the Gerudo Highlands
| Weapons | Stats | |
|---|---|---|
F Tier
|
Spear
|
Attack:
3-2
Guard Break:
4
Durability:
30-24
|
A Tier
|
Sword
|
Effect: Strong Fusion (2x for fused material)
Attack:
24
Guard Break:
28
Durability:
14
|
A Tier
|
Sword
|
Effect: Wind Razor (Creates Wind Slashes)
Attack:
25
Guard Break:
32
Durability:
25
|
E Tier
|
Club
|
Attack:
21
Guard Break:
6
Durability:
16
|
B Tier
|
Sword
|
Effect: Improved Sneak Strike (x16 sneakstrikes instead of x8 for a sneak attack)
Attack:
15
Guard Break:
15
Durability:
26
|
A Tier
|
Club
|
Attack:
6
Guard Break:
2
Durability:
14
|
A Tier
|
Bow
|
Attack:
25
Range:
40
Durability:
40
|
B Tier
|
Attack:
24
Range:
20
Durability:
30
| |
S Tier
|
Bow
|
Attack:
32x3
Range:
20
Durability:
45
|
C Tier
|
Shield
|
Defense:
25
Durability:
8
|
C Tier
|
Shield
|
Defense:
28
Durability:
20
|
D Tier
|
Shield
|
Defense:
35
Durability:
26
|


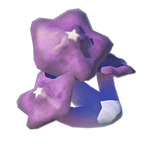
Materials found in the Gerudo Highlands
| Material | Effects |
|---|---|
|
Elixir: Extra Hearts
| |
|
Cooking:
| |
|
Time Boost: 0:40
| |
|
Time Boost: 1:20
| |
|
Time Boost: 1:20
| |
|
Time Boost: 0:40
| |
|
Time Boost: 0:40
| |
|
Time Boost: 0:40
| |
|
| |
|
|


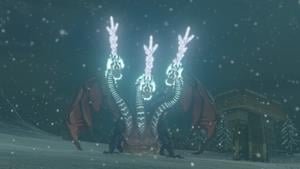
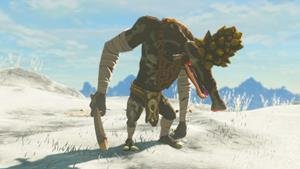
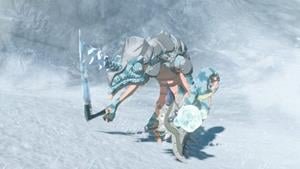
Bosses in the Gerudo Highlands Location
| Bosses | Stats | Drops |
|---|---|---|
|
Life: 8000
|
 | |
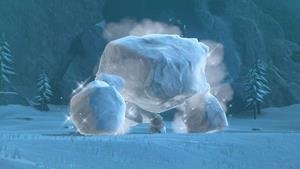
|
Life: 1000
|
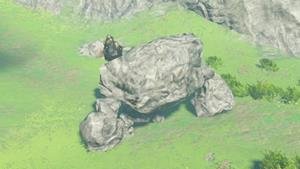
| |
|
Life: 1080
|
|
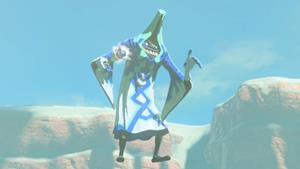
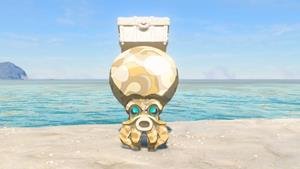
Enemies in the Gerudo Highlands Location
| Enemies | Stats | Drops |
|---|---|---|
|
Life: 360
|
| |
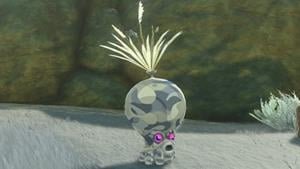
|
Life: 300
|
| |
|
Life: 160
|
| |
|
Life: 20
|
| |
|
Life: 10
|
| |
|
Life: 250
|
| |
|
Life: 160
|
| |
|
Life: 300
|
| |
|
Life:
|
| |
|
Life: 8
|
| |
|
Life: 8
|
|


All Locations in Zelda Tears of the Kingdom.
Popular Guides