
Zelda Tears of the Kingdom Eldin Location
The Zelda Tears of the Kingdom Eldin location guide, here you can use a interactive map to find up to 13 shrines, 2 mini bosses, and 0 Armor gear pieces. You can also find all of treasures chests, shops, stables and more in Eldin area.
Eldin Map Guide
| Location | Type | Subtype | Description | Show on map |
|---|
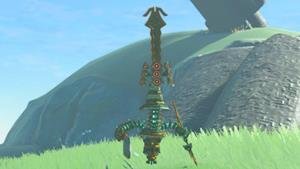
List Skyview Towers in Eldin
| Skyview Tower | How To Unlock |
|---|---|
|
The Eldin door is closed and the top part is missing. Since the top part is gone, you need to get to the top and go into the tower from there to use the control panel. Nearby you'll see some broken stuff that you can use the Recall skill on. Ride the broken stuff as it goes back up into the sky, then fly into the hole at the top of the tower. Use the control panel to get a map of the area around you. | |
|
You can't use the Eldin control panel because something is blocking the top of the tower. Look for the moving platforms near the tower and use them, along with your abilities, to get to the platform that's highest up. When you get to the highest platform, grab some zonai fans and stick them to the platform with Ultrahand. Turn on the fans and the platform should move out of the way. If you do it right, everything will stop for a moment and you'll see the top of the tower. You'll also hear a special sound. |
List Shrines in Eldin
| # | Shrine | Rewards |
|---|---|---|
| 064 | ||
| 089 | ||
| 054 | ||
| 002 | ||
| 031 | ||
| 035 | ||
| 098 | ||
| 137 | ||
| 073 | ||
| 102 | ||
| 088 | ||
| 017 | ||
| 147 |
Equipment found in the Eldin
| Weapons | Stats | |
|---|---|---|
S Tier
|
Club
|
Effect: Demolisher (x1.5 on Rock Type enemies/objects)
Attack:
40
Guard Break:
72
Durability:
40
|
F Tier
|
Spear
|
Attack:
3-2
Guard Break:
4
Durability:
30-24
|
E Tier
|
Spear
|
Effect: Quick Charge (Charged attacks charge twice faster)
Attack:
7-3
Guard Break:
8
Durability:
35-25
|
F Tier
|
Spear
|
Attack:
2
Guard Break:
2
Durability:
8
|
C Tier
|
Sword
|
Effect: Charge Atk. Stamina Up (Decrease Charge Attack Stamina Used)
Attack:
17-9
Guard Break:
20
Durability:
25-17
|
S Tier
|
Club
|
Effect: Demolisher (x1.5 on Rock Type enemies/objects)
Attack:
15-10
Guard Break:
15
Durability:
30-18
|
S Tier
|
Boomerang
|
Attack:
25
Guard Break:
12
Durability:
40
|
E Tier
|
Sword
|
Effect: Quick Charge (Charged attacks charge twice faster)
Attack:
12-6
Guard Break:
14
Durability:
23-17
|
C Tier
|
Shield
|
Defense:
16
Durability:
16
|
B Tier
|
Attack:
24
Range:
20
Durability:
34
| |
B Tier
|
Spear
|
Attack:
3
Guard Break:
2
Durability:
14
|
C Tier
|
Sword
|
Effect: Fuse Recycling (Allows the reusage of certain one-time use fuse materials)
Attack:
16-7
Guard Break:
8
Durability:
27-17
|
F Tier
|
Shield
|
Defense:
4
Durability:
12
|


Materials found in the Eldin
| Material | Effects |
|---|---|
|
Time Boost: 0:30
| |
|
Elixir:
| |
|
Time Boost: 0:40
| |
|
Elixir:
| |
|
Cooking:
| |
|
Time Boost: 1:20
| |
|
Time Boost: 0:40
| |
|
Time Boost: 0:40
| |
|
Time Boost: 0:40
| |
|
Time Boost: 0:40
| |
|
Cooking:
| |
|
| |
|
Time Boost: 1:20
| |
|
Time Boost: 1:20
| |
|
Time Boost: 1:20
|


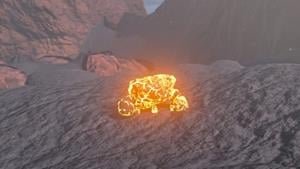
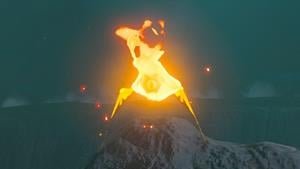
Bosses in the Eldin Location
| Bosses | Stats | Drops |
|---|---|---|
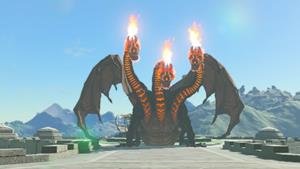
|
Life: 8000
|
 | |
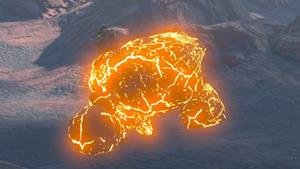
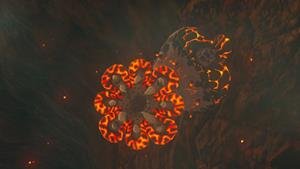
|
Life: 1000
|
|
Enemies in the Eldin Location
| Enemies | Stats | Drops |
|---|---|---|
|
Life: 8
|
| |
|
Life: 72
|
| |
|
Life: 144
|
| |
|
Life: 10
|
| |
|
Life: 150
|
| |
|
Life: 160
|
| |
|
Life: 20
|
| |
|
Life: 380
|
| |
|
Life: 1
|
| |
|
Life: 250
|
| |
|
Life: 250
|
|


All Locations in Zelda Tears of the Kingdom.
Popular Guides