
Zelda Tears of the Kingdom Hebra Mountains Location
The Zelda Tears of the Kingdom Hebra Mountains location guide, here you can use a interactive map to find up to 6 shrines, 2 mini bosses, and 0 Armor gear pieces. You can also find all of treasures chests, shops, stables and more in Hebra Mountains area.
Hebra Mountains Map Guide
| Location | Type | Subtype | Description | Show on map |
|---|
List Skyview Towers in Hebra Mountains
| Skyview Tower | How To Unlock |
|---|---|
|
Before you travel to the Hebra Mountains you will need to make sure you have the right gear. You will need to have Cold Resistance. You can get this by eating food that gives you Cold Resistance or by wearing the right armor. you will need to climb many platforms to get to the tower. You can use Ultrahand to build a ramps with the stuff you find lying around. | |
|
The Hebra Mountains door is covered with plants. You can burn these plants to make a path. You can do this multiple ways, first you can use a fire arrow, torch, or any weapon with flames. You can fuse materials with fire properties to any arrow or weapon to make a weapon that will burn the vines. You can also put flint near the plants and hit it with a metal weapon to make a spark. This spark will catch the plants on fire. |
List Shrines in Hebra Mountains
| # | Shrine | Rewards |
|---|---|---|
| 072 | ||
| 086 | ||
| 111 | ||
| 007 | ||
| 132 | ||
| 021 |
Equipment found in the Hebra Mountains
| Weapons | Stats | |
|---|---|---|
F Tier
|
Club
|
Attack:
6
Guard Break:
6
Durability:
14
|
B Tier
|
Sword
|
Effect: Wind Burst (Creates Wind)
Attack:
13-6
Guard Break:
8
Durability:
27-18
|
A Tier
|
Boomerang
|
Attack:
8
Guard Break:
16
Durability:
17
|
D Tier
|
Bow
|
Attack:
14
Range:
20
Durability:
36
|
C Tier
|
Bow
|
Attack:
8
Range:
40
Durability:
30
|
B Tier
|
Bow
|
Attack:
14
Range:
40
Durability:
35
|
F Tier
|
Shield
|
Defense:
2
Durability:
12
|
F Tier
|
Shield
|
Defense:
3
Durability:
5
|
F Tier
|
Shield
|
Defense:
3
Durability:
10
|


Materials found in the Hebra Mountains
| Material | Effects |
|---|---|
|
| |
|
Cooking:
| |
|
Fire Resistance
Time Boost: 1:20
| |
|
Time Boost: 0:40
| |
|
| |
|
Time Boost: 1:20
| |
|
Cooking: Extra Hearts
| |
|
| |


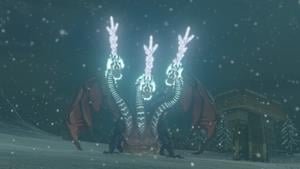
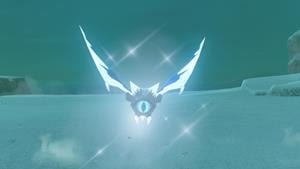
Bosses in the Hebra Mountains Location
| Bosses | Stats | Drops |
|---|---|---|
|
Life: 8000
|
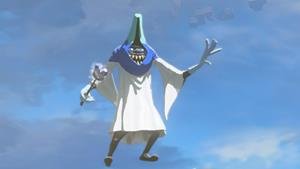
 | |
|
Life: 1000
|
|
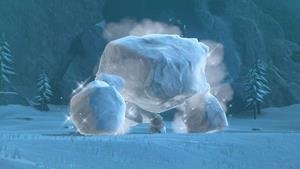
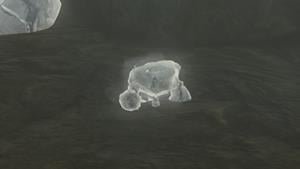
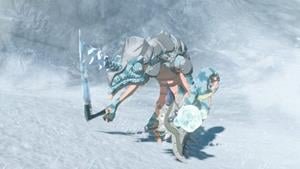
Enemies in the Hebra Mountains Location
| Enemies | Stats | Drops |
|---|---|---|
|
Life: 20
|
| |
|
Life: 10
|
| |
|
Life: 1
|
| |
|
Life: 150
|
| |
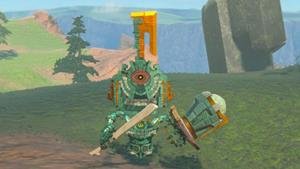
|
Life: 160
|
| |
|
Life:
|
| |
|
Life: 72
|
| |
|
Life: 8
|
|


All Locations in Zelda Tears of the Kingdom.
Popular Guides